Tuesday, August 31, 2010

My Models Own Haul

Many of you probably knew that Models Own had a 50% off sale for a week after they reached 10,000 fans on Facebook. I was really excited for this sale as it made the purchase of this polish a lot more affordable. I might not be able to get my hands on Models Own for a while now due to the high shipping costs, but at least I got my hands on 13 polishes from them.

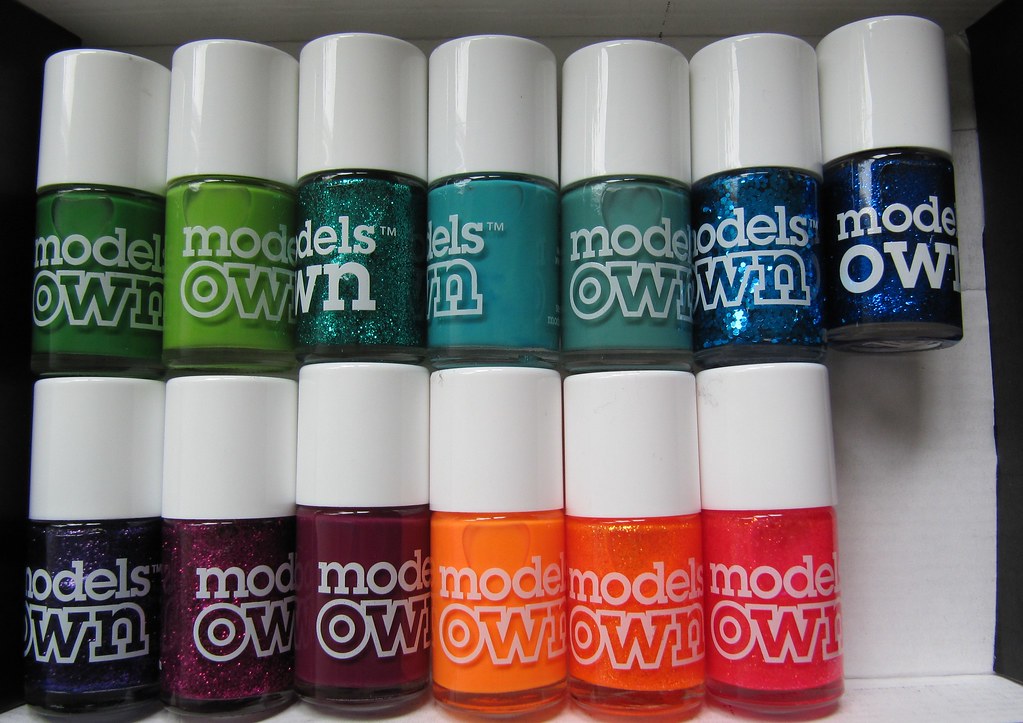
Here is a picture of my haul! I surprisingly picked some colors that I usually don't go for. Notably the neons and glitters.

Top: Green Grass, Lime Green, Emerald City, Top Turquoise, Slate Green, Blue Sparkle, Bluebelle
Bottom: Purple Haze, Magenta Divine, Turkish Delight, Orange Sorbet, Orangeade, Pink Explosion
I'm most excited for the neon glitters Orange and Pink Explosion. I also really excited to use Turkish Delight as it really was the surprise of my order.

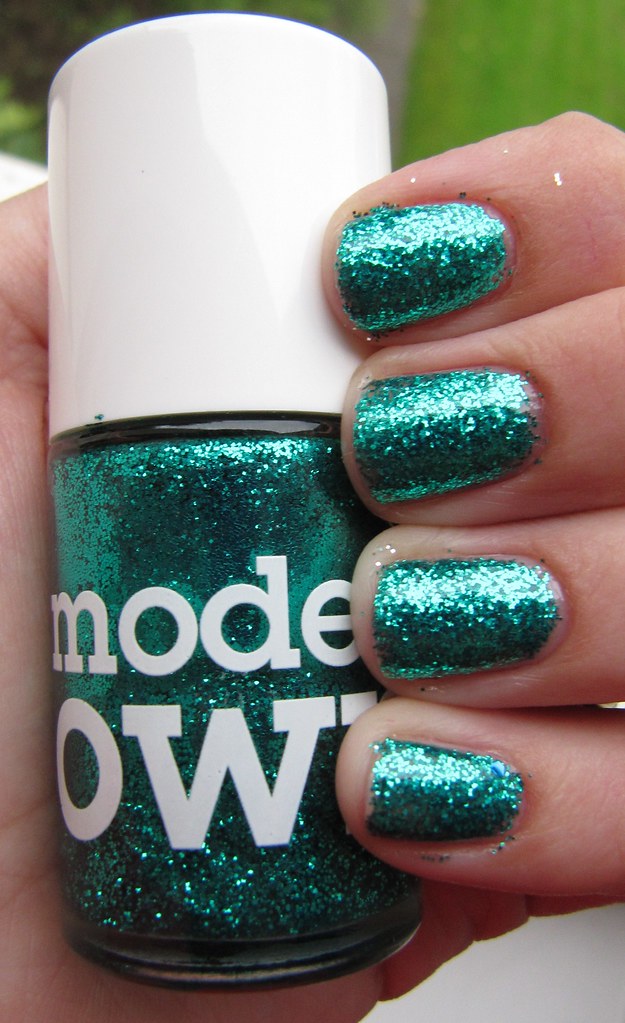
My NOTD was a choice I left up to Chris and he picked Emerald City. It's an emerald glitter in a
clear base. It leans turquoise more then emerald most of the time. It took four coats for opaqueness but it was worth it. It catches the light beautifully.


This next photo is a picture using flash. Totally shows how turquoise it really is inside.

Thanks for taking a look! Stay tuned the next few days for some more Models Own!

Monday, August 30, 2010

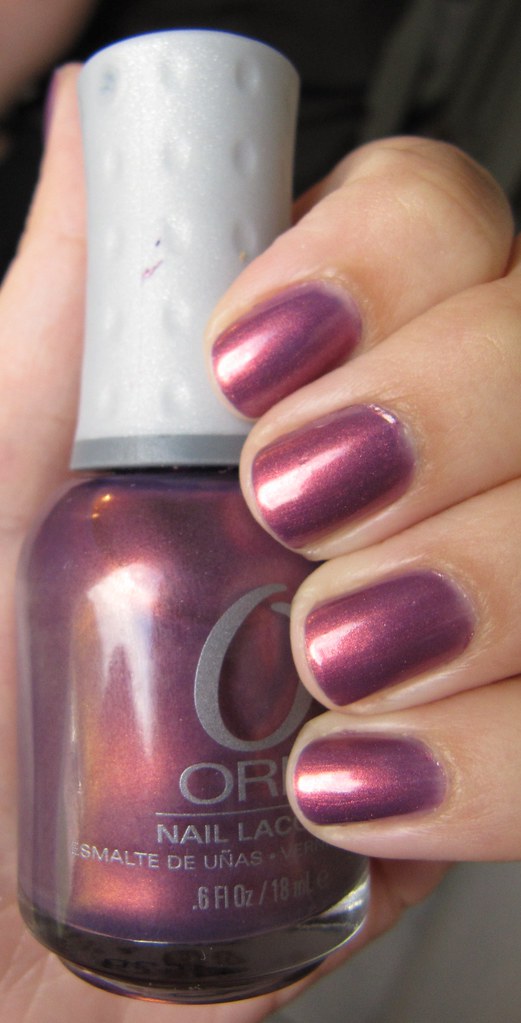
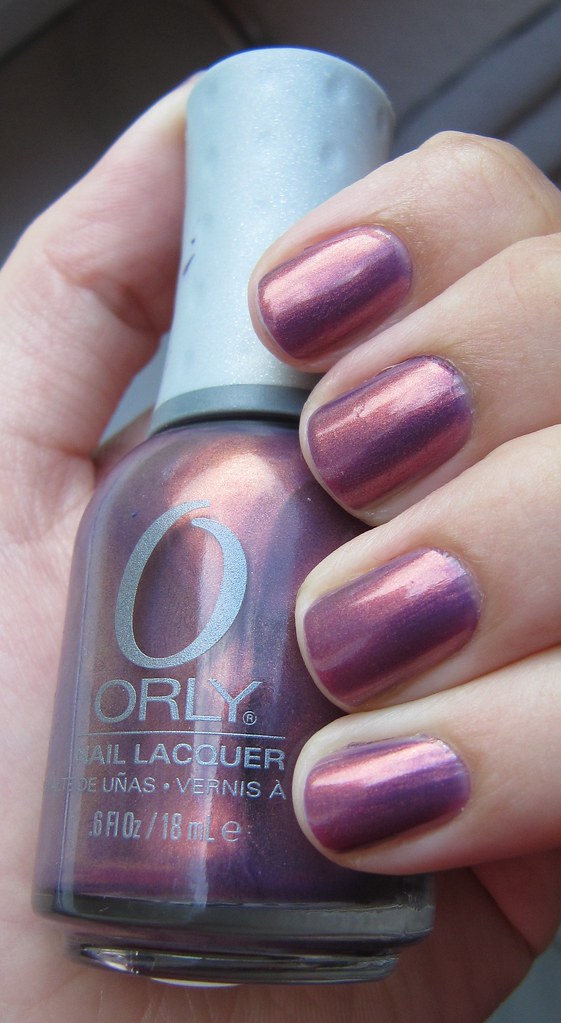
Orly - Fantasea

I'm going to start this by saying that I absolutely love this color! Every time I looked down at my nails I would smile because of the beautifully subtle duo chrome. I wish I had more Orly polish over here with me. The bottle is perfect to hold, the rubber cap is easy to grip with your fingers, and the brush is perfect for my nails.

This polish is sheer compared to most Orly's so I needed to use four coats. On the nails it is a purple with a red and gold hint of shimmer. So beautiful and it goes darker and lighter depending on the light.


Enjoy your Monday!

Friday, August 27, 2010

Essence - Back to Paradise

Today, I will be showing off a really pretty dark green jelly from essence called Back to Paradise. It's part of a limited edition summer collection called Return to Paradise. So if you really like this I recommend you start hunting for it now or it might be too late.

I used three very thin coats on my little nubbin nails. :) I filed them down really short this week. I prefer my nails medium length most of the time and then every once in a while I like them really short. I cut them because in two weeks I'm getting married and I wanted my nails to have a fresh start to grow for the next two weeks.

So here is Back to Paradise...

Natural Light


Flash
Thanks for reading! Hope you all have a nice weekend.

Monday, August 23, 2010

French Manicure

Hope everyone had a nice weekend! I had a really nice weekend. On Saturday, I took a spontaneous trip to the Black Forest to go swimming. I had fun swimming and then continued the spontaneity by just driving around. Ending up at a neat waterfall and an awesome dome cathedral.

Where I went swimming.
Waterfall I visited.

  Beautiful Landscape
St. Blaise's Cathedral
Now to the polish.....

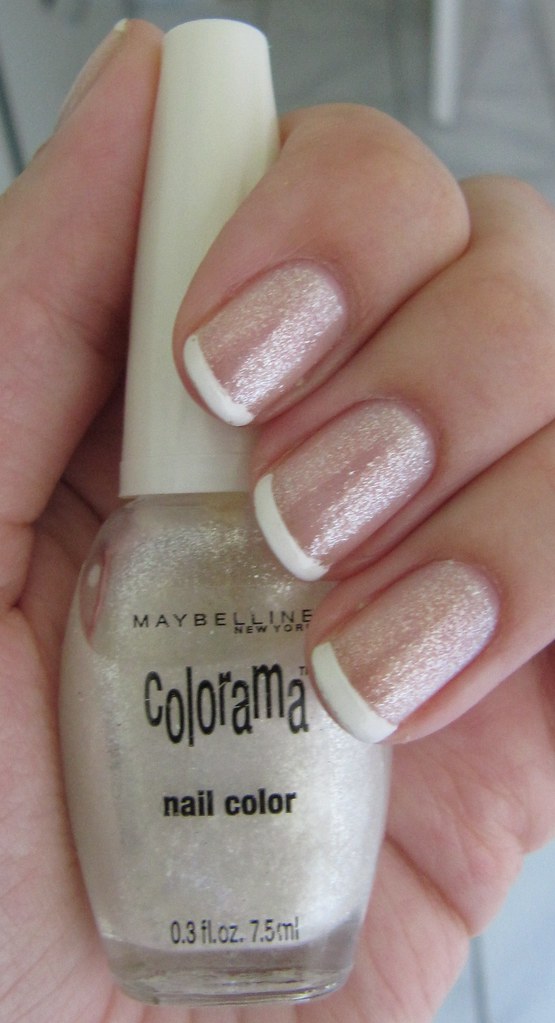
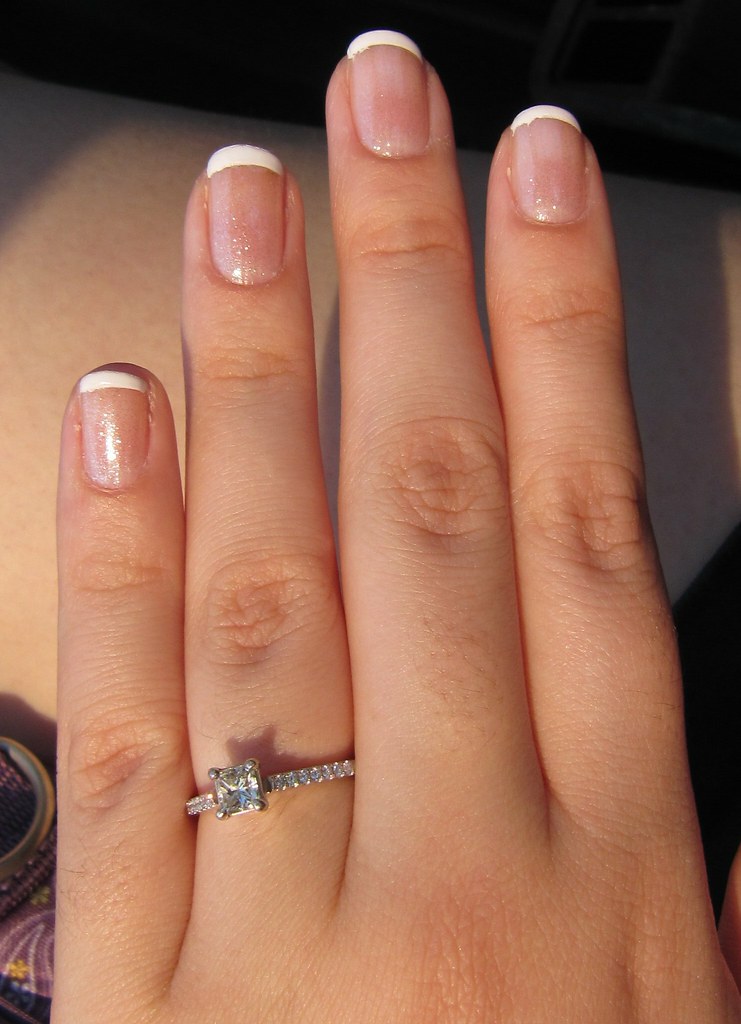
Over the weekend I had a french manicure on. I used two coats of Maybelline - Colorama Diamond Love and then did my tips with a white creme from the H&M mini collection for this summer. I didn't feel comfortable doing my tips free hand. So I used sticker stencils from essence where you place them and then paint on the white tip. It worked okay, but on a few nails you can see that in smudged a bit.

I'm going to free hand next time. I did a few practice free hands and I can say it's much easier when you are using a bottle of white polish that is mini. The brush isn't as long, so you have more control.

Two Coats of Diamond Love

Tuesday, August 17, 2010

Orly - Passion Fruit

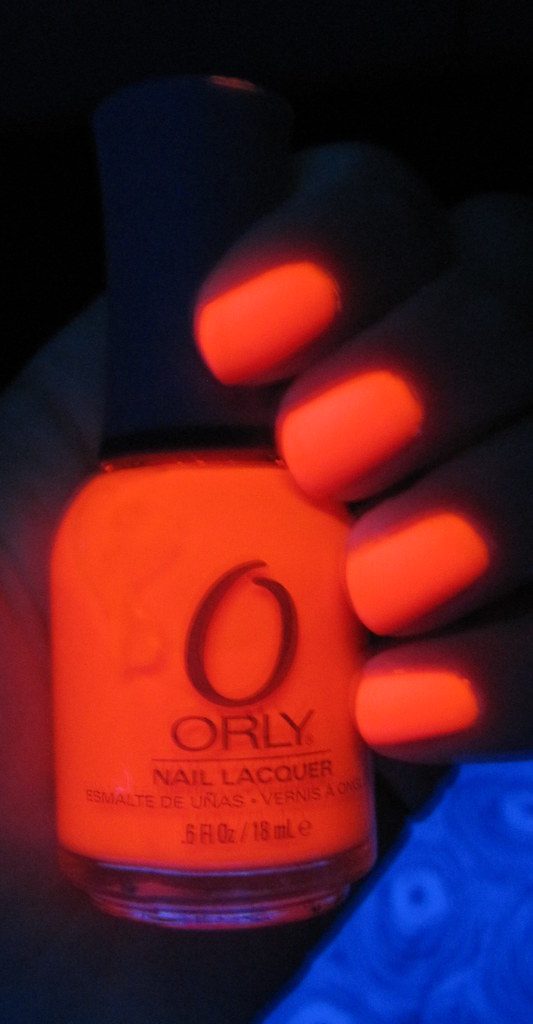
This is the first actual neon I have worn. I've never ever worn something like this before because I was too afraid. Then I tried it last week and I loved it! I loved it so much that I wore it for 5 days! That never happens as I usually colors everyday or every other day.
Neons take a while to get rid of visible nail line and they dry a bit matte so I recommend using a nice shiny top coat for this. It took me four coats to get rid of my nail line. In the picture you can see that the bottle color is different than the actual nail color. If I had only used the one coat it would of matched the bottle. When I used four it got darker. This polish also dries darker.


I took this picture on day four. I have a little tip wear. I cleaned the apartment and did a lot of dishes so I'm happy with how well it stayed. I used Orly Bonder as a base and Orly Sec N Dry as a top coat.


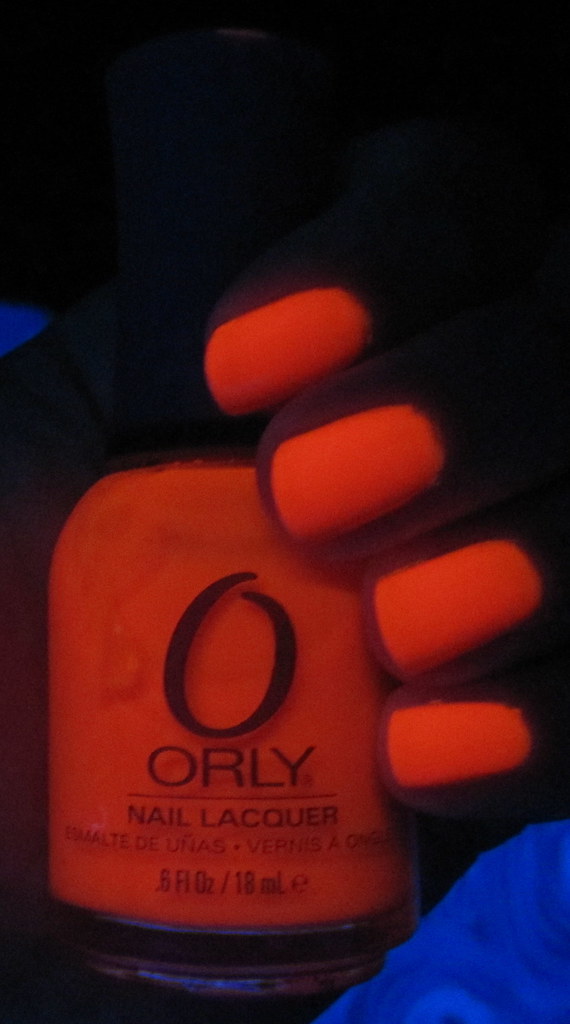
The apartment we live in is a sublease so all the furniture was included. Including the giant black light in the ceiling of our bedroom. Odd... yes... but it works great when you want a photo of your neon polish!

Check it out. This pink definitely leans orange in black light.


There has been a bit of space between posting. Sorry folks. I've just been in a little rut. Hopefully this week goes better than last.

Monday, August 9, 2010

Tutorial: Water Marbling

This is my first tutorial and second time water marbling. So I hope that somebody finds it useful. I tried a different technique this time and it worked much better then the first time.

These are the polishes that I used (Left to Right):
OPI Quarter of A Cent-Cherry, OPI Smitten With Mittens, OPI Stars In My Eyes, Orly Luxe

I started with a base coat of color on my nails. I would really recommend that you use a base color. As sometime as the marble will not cover your whole nail. I choose OPI Stars In My Eyes and did a total of three coats because it is a sheer.


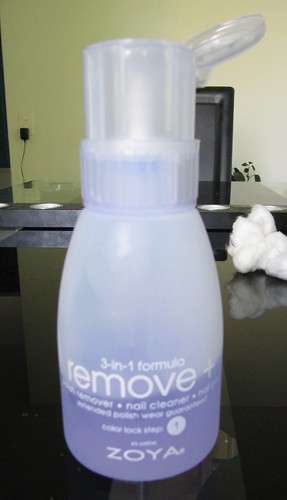
There are some supplies you will need. It's handy when you have your nail polish remover in a pump or bottle cap. Marbling is very messy and picking up the bottle of remover and getting it on a cotton swab may be difficult. Also to help make cleanup easier I would recommend taping and olive oil.


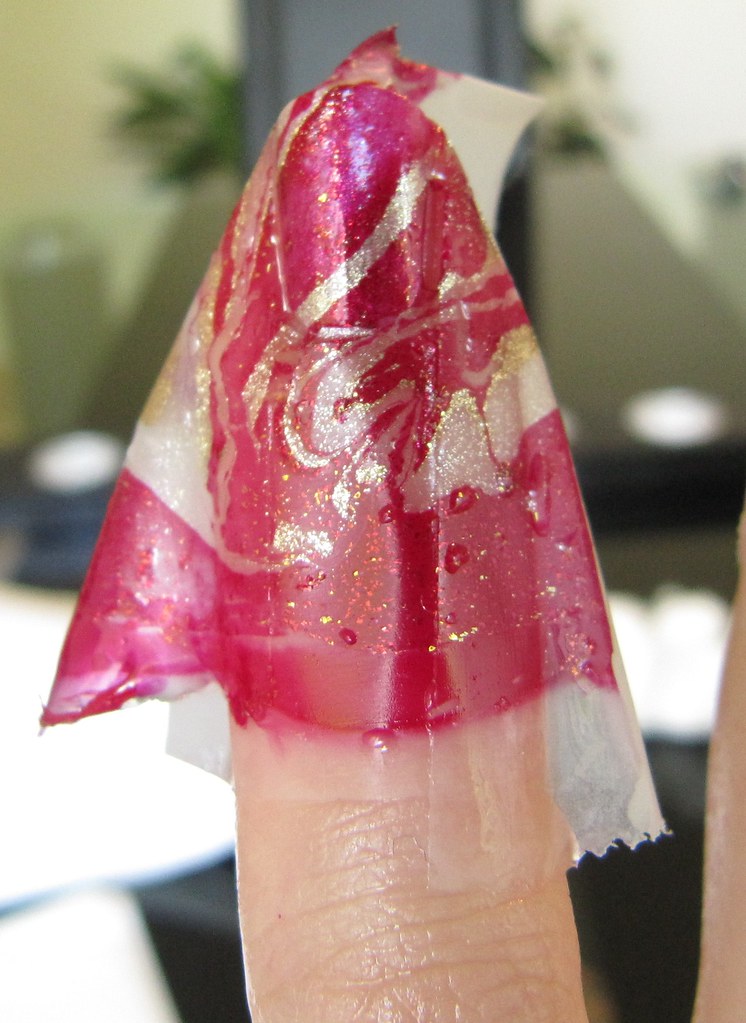
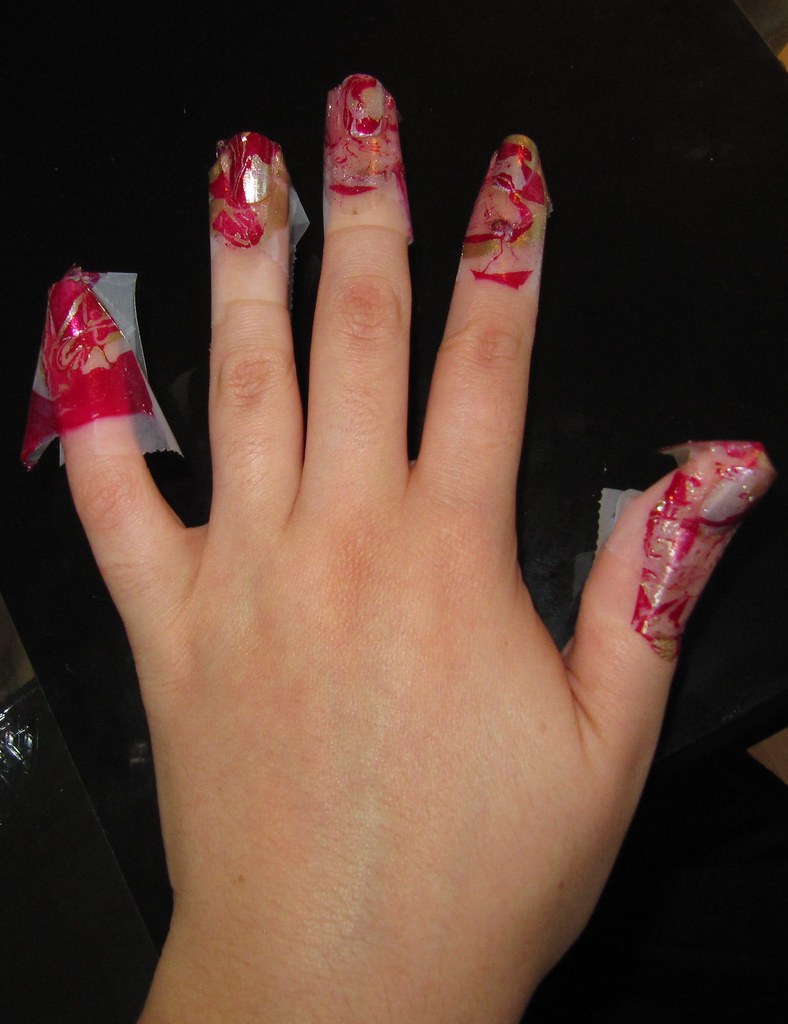
The tape is the most useful item to make cleanup easy. Tape the skin that is around your nail. Then take the olive oil and carefully put it on any parts of the skin that you were not able to tape. If you don't want to use the tape you can put olive oil all over your skin but not your nail. I wouldn't advise you to only use olive oil as it is way harder to clean up. Below you can see my fingers all taped up.


Tip: Only tape one hand at a time. If you tape up both it will make it hard for you, grab the handles of the polish. The taped hand can be very clumsy.

Once your fingers are taped you can begin the water marbling process! For this you will need either a plastic cup or plastic sandwich container. I used a plastic cup, but I would recommend a plastic container because it will have more open space, making it easier to dip your finger into the water. You will also need an a few orange sticks to swirl the polish together. They get gunky so you will want more than one.

First step is to fill your cup with water. I found that using hot water does not work. I used water that was room temperature. When you're swirling the polish you will notice if it's working or not. If it's sticking and not moving easily, then you need to change the water temperature.

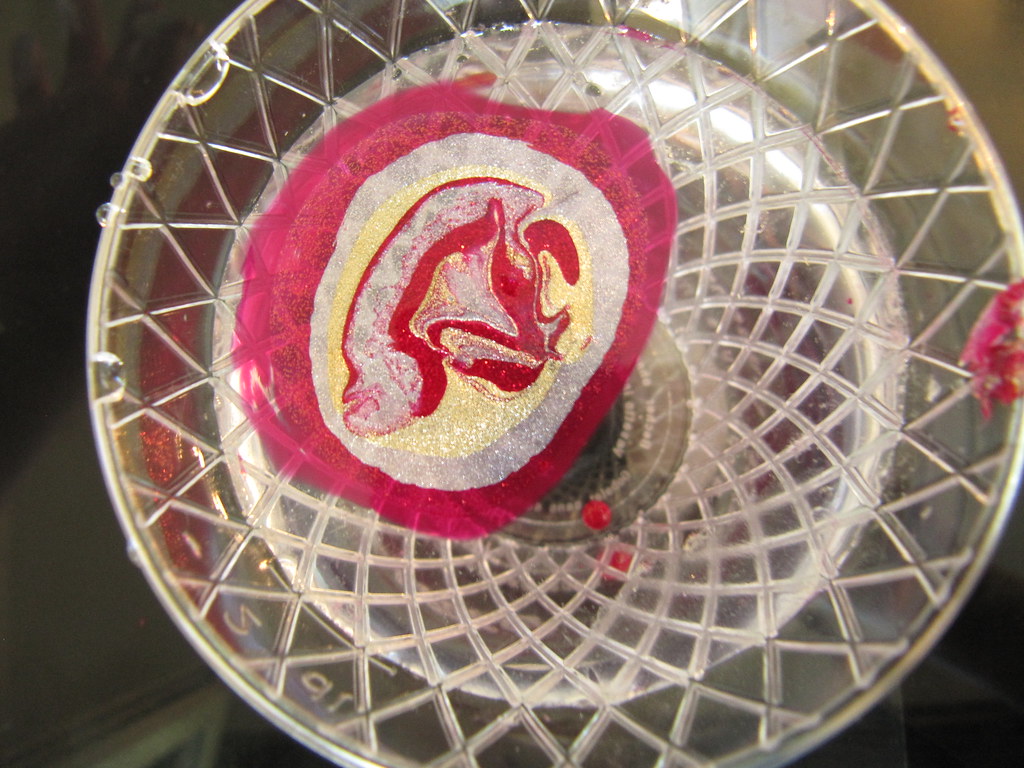
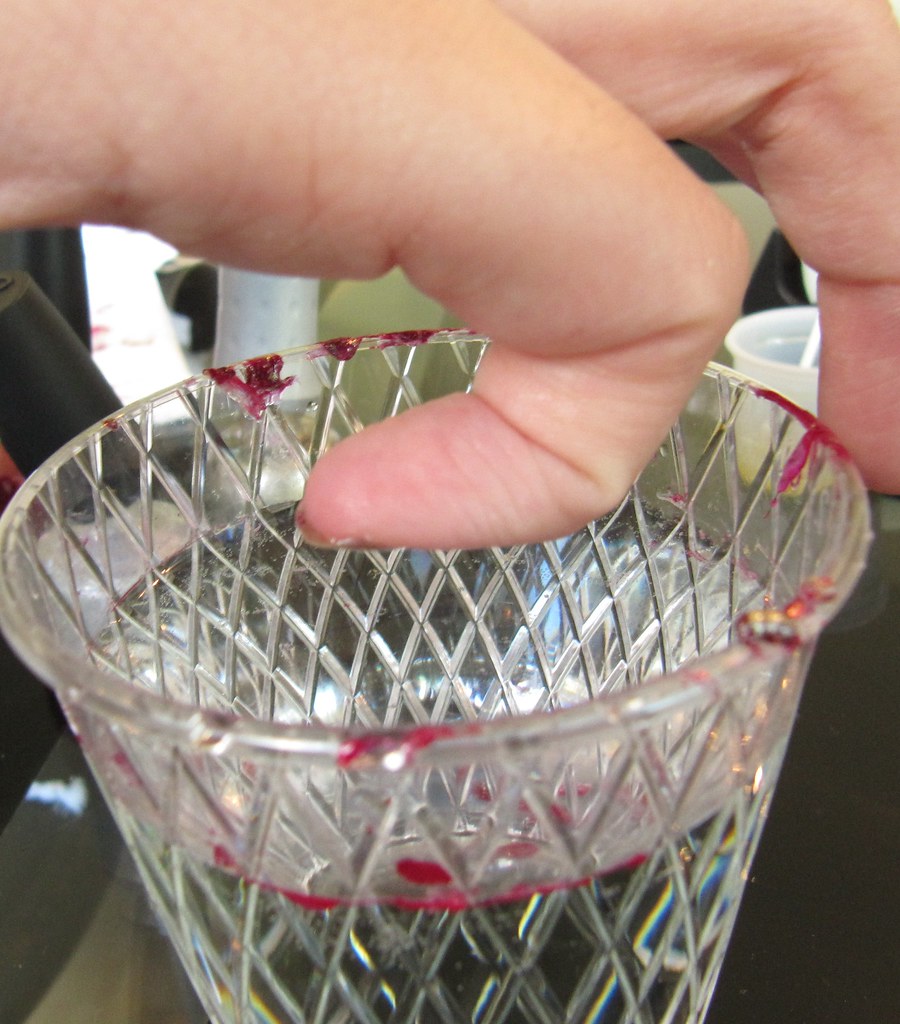
The next step is dropping the drops of polish into the water. You can tap the cap on the rim to help have the polish drip easier. In the picture below you can see that it's a small red dot. It will start to spread out and get lighter. After the first drop you need to quickly start dropping in the other colors you are using.You need to do this very fast or you may have to restart the process. Have all your bottles open to help speed things up.


When you're dropping in polish it might not always work. You need to use pigmented colors and if you are trying this for the first time I would recommend using cremes. Glitter/sparkles are a bit tricky. When a drop hits the water and spreads out that is good. If you keep dropping drops and they are sinking to the bottom, then you will need to choose a different color.


Above is what it looks like after you drop in all your colors. If you're interested I used one drop Quarter of A Cent-Cherry, Smitten With Mittens, Stars in My Eyes, Luxe, and then another drop of Smitten with Mittens.

The next step is to gently swirl the polish with an orange stick. I used a nail (the kind that go on walls) because that is all I had in the apartment to use. I've found one way to help with make swirling easier is to leave the outside ring alone. The outside ring will act as a support band around your design in the middle. You can see in the middle that I took the nail and mixed or swirled the red, gold, and silver glitter but I left the outside untouched.

The next step is to quickly dip your finger into the design. In the picture below you can see how I positioned my finger. Gently in that position dip your finger into the design. Your finger will be partially in the water. Then, while your finger is partially in the water quickly taking an orange stick and pull away the polish around your finger. After you pull the excess away you can carefully lift your finger up.


Tip: Dipping your finger can take practice. Before trying to do a full water marble manicure, take the time to do a few practice tries. It will make your first water marble manicure much easier.

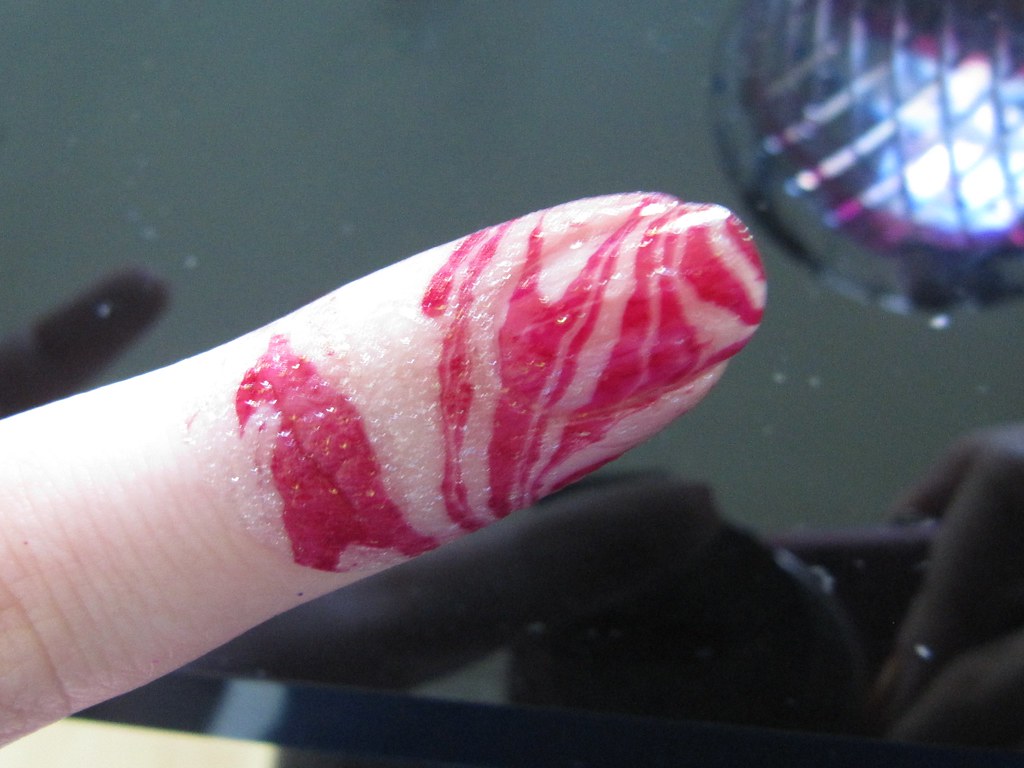
When you lift your finger up it will either look like the one on the left picture or right picture. Depending if you used just olive oil or if you taped up your fingers instead.


The next step is cleanup. If you used tape, then you can do all five taped fingers before needing to stop for cleanup. If you used olive oil only then each time you dip a nail, it will immediately need to be cleaned. With the tape I would wait a few minutes before you start carefully pulling it off that way you won't damage your designs. Below is a photo of my nails right after I pulled the tape off. You can see that there really isn't too much polish to cleanup just a little bit around my cuticles.


After you are finished with your first hand, I would wait at least ten minutes before apply a top coat otherwise it might smear the design. I used Orly Sec N Dry. After your top coat has dried you can move on to your next hand.

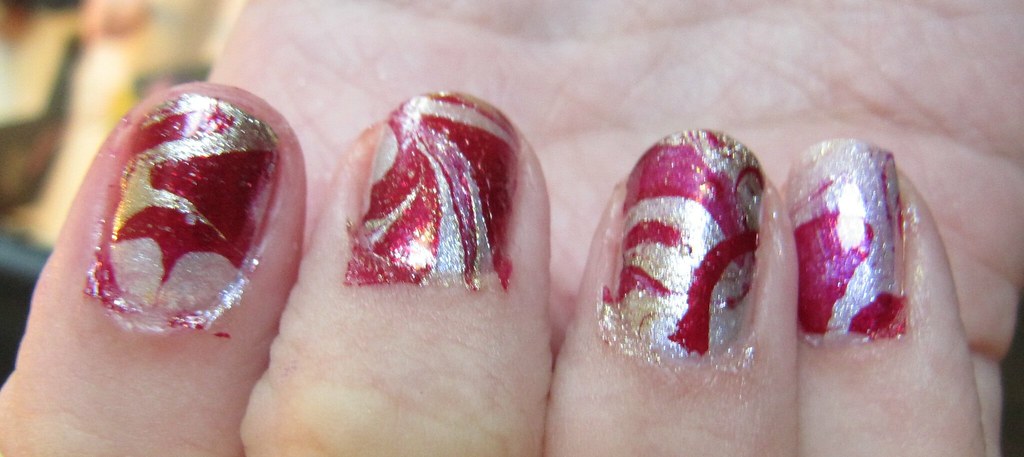
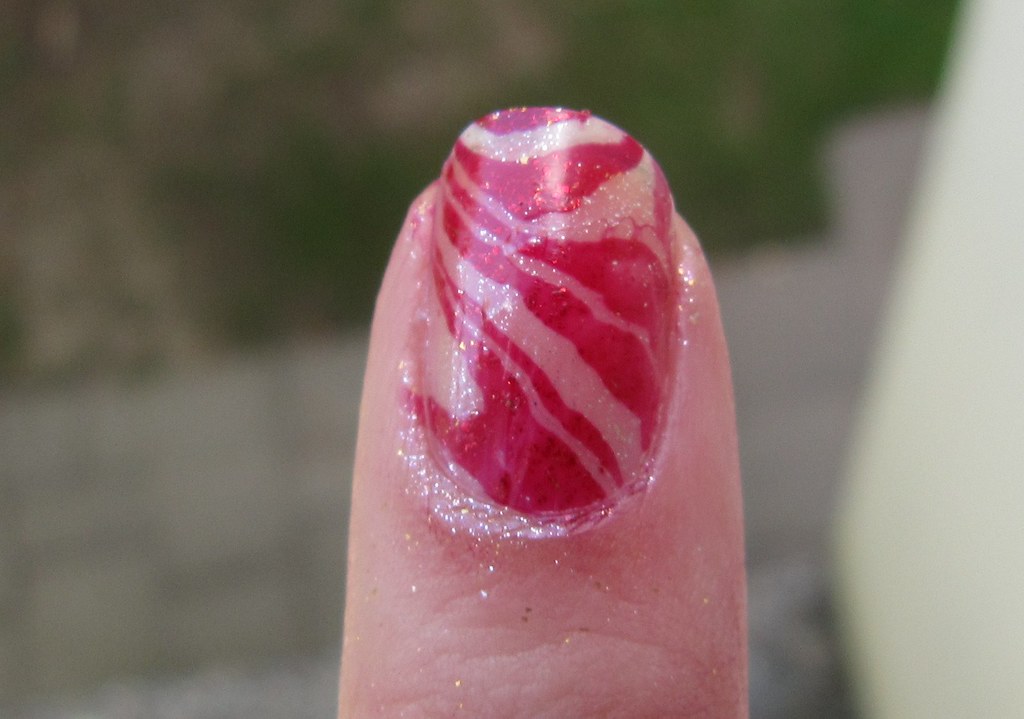
Here are my results!


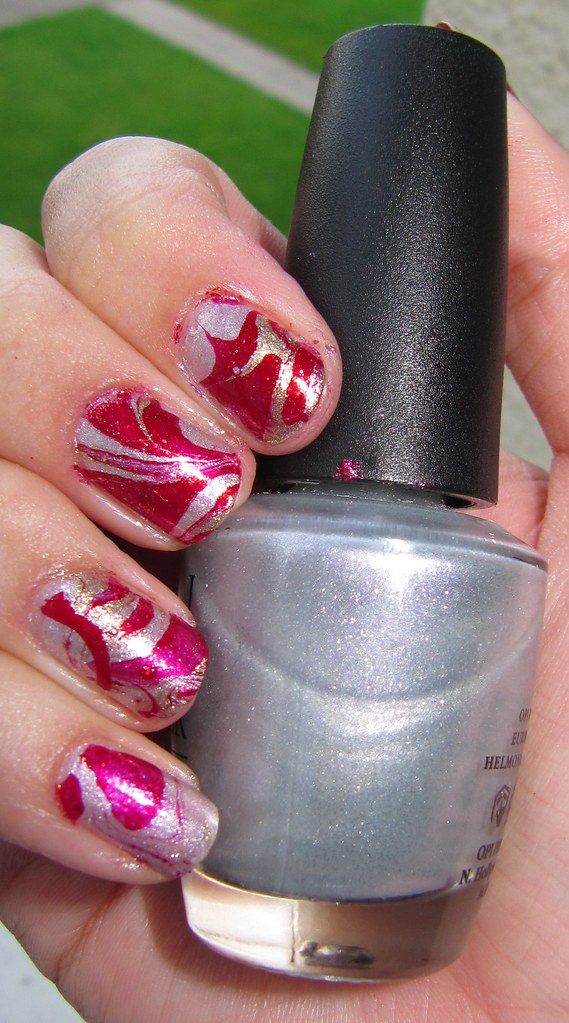
The above was my test try to make sure the colors I picked work. Below is my finished manicure.


It's still messy around my cuticles, but I was trying to make sure I got pictures before the sun went away. Regardless, I hope you found this tutorial useful.
Saturday, August 7, 2010

Try Orange!

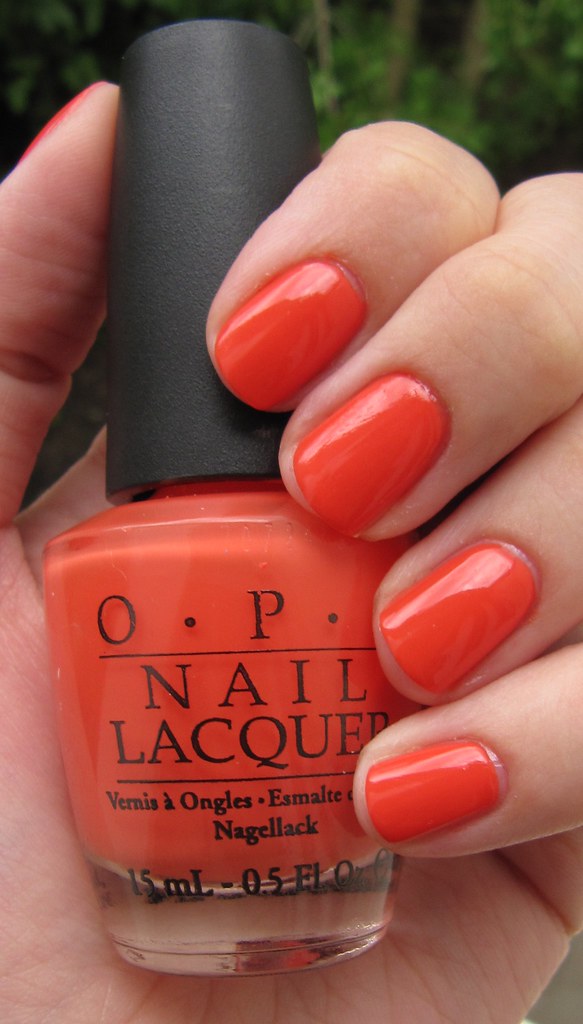
I think orange is one of those colors that is overlooked. I know I overlook it a lot. I can't remember the last time I wore orange polish for a long period of time. The weather here has been hit and miss. Lots of rain and little sunshine. So yesterday when I was choosing a weekend nail I went for something bright! OPI Bright Power a tangy bright Orange from the Brights Collection 2008.
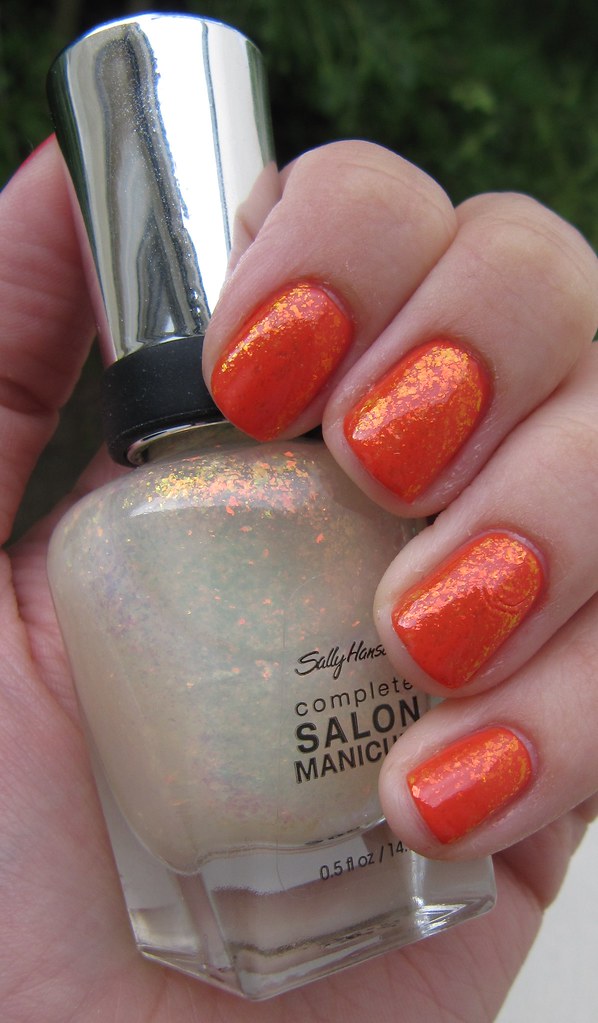
I used four coats, but it looked good at three too.


And because I wanted a bit more pizazz I added two coats of Sally Hansen Hidden Treasure.


I love the effect of the Hidden Treasure over orange since the flakes are an orange/gold. It's even more gorgeous in person.

Friday, August 6, 2010

Water Marbling - First Try

To find my Water Marbling Tutorial head over here: Tutorial Water Marbling

Sorry about that lack of posting. I'm having some personal issues happening at the moment that took priority. Posting will be light this month.

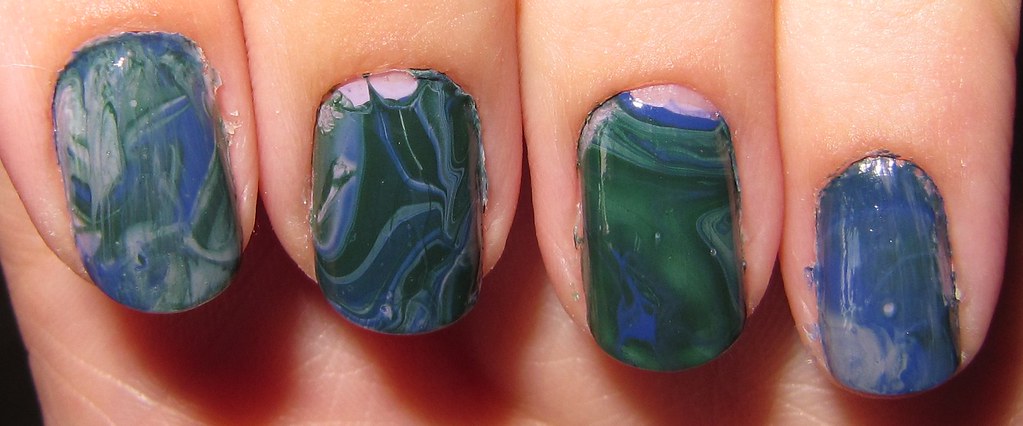
A week and a half ago I wanted to try a new technique with my nails. I decided to try my skills at water marbling. It's a really painstaking and long process I spent about two hours on my nails. The process causes you to have nail polish all over your finger that you then need to clean up. I put olive oil around my skin to try and make the process easier. It works well, but I think I will try to tape next time.

The colors I used:
Base Color- OPI Done Out In Deco
Marble Colors - American Apparel Mount Royal, Hunter, and Factory Grey.

Here are the pictures from my first attempt.