Showing posts with label Sally Hansen. Show all posts

Monday, July 30, 2012

Leopard Print Nails

Hey lovely ladies. Again, I've disappeared. *sigh* The good news is I finally have a new laptop. It's going to be a lot nicer for blogging. I have tons of NOTD photos that I would love to share.


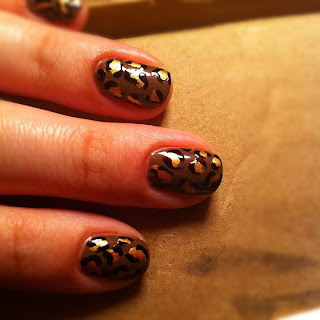
So first up is some nail art I did back in June during a nail challenge. I created leopard print nails. My base was Essie - Over the Knee. The leopard print was with Orly - Liquid Vinyl and a bronze Sally Hansen nail pen.


The technique was actually pretty simple. I used two coats of Essie - Over the Knee. I then used the bronze Sally Hansen nail pen to create the spots. It wasn't overly pigmented so I did a second coat on the spots. The black parts I did with toothpicks. Toothpicks are honestly the best tools for nail art! They are cheap and can be thrown away when you're done. So no extra cleanup.


The hardest part about nail art is waiting extra for it to dry. Otherwise, like me, you will have a few nails smear when you apply top coat. I really thought I waited long enough. Totally sucks, but I'll move on. ;)


 So what do you think? Will you try this out!? Honestly, it was pretty easy for me to do and I don't have much experience with nail art. I think it's adorable too.

Thursday, April 28, 2011

Sally Hansen Salon Effects - Kitty Kitty

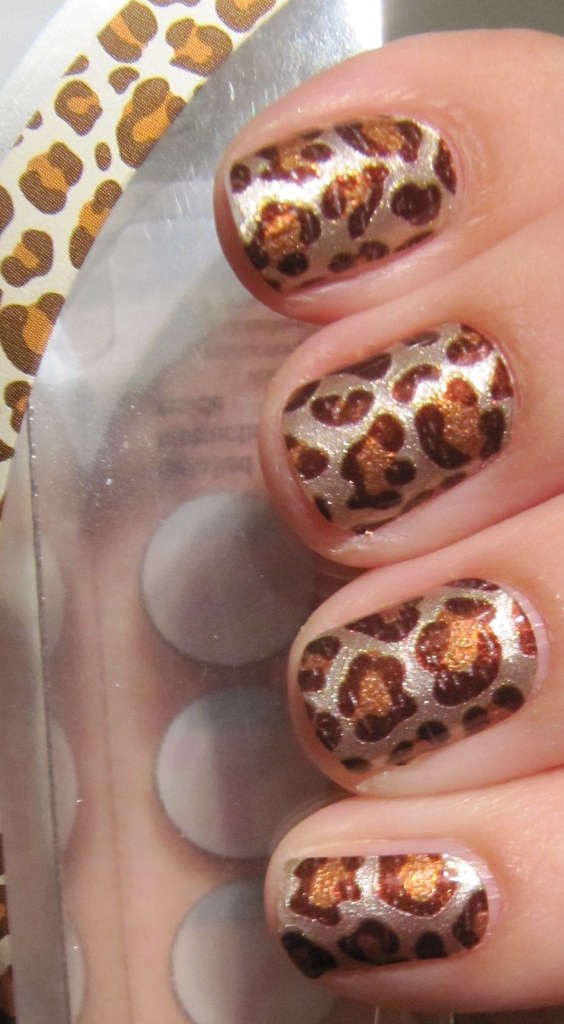
While I was taking an unexpected week long blogging break, I happened to take a break from polishing my nails too. Of course I didn't keep my nails bare. I put on one of the new Sally Hansen Salon Effects that I picked up while I was on vacation in the US.


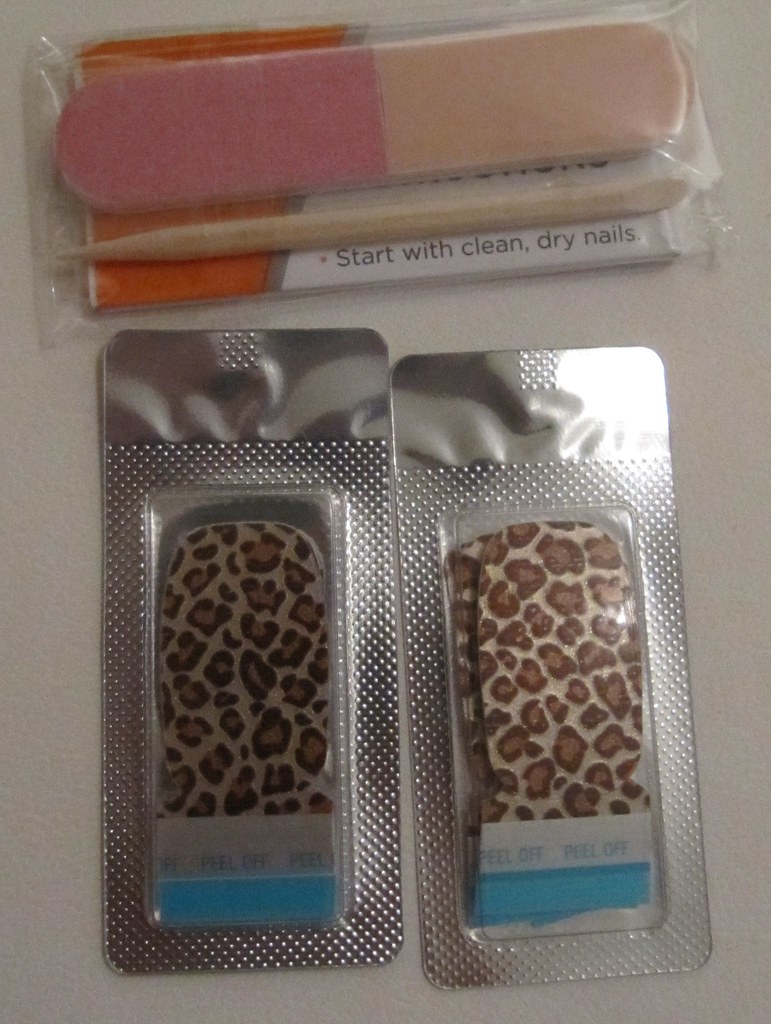
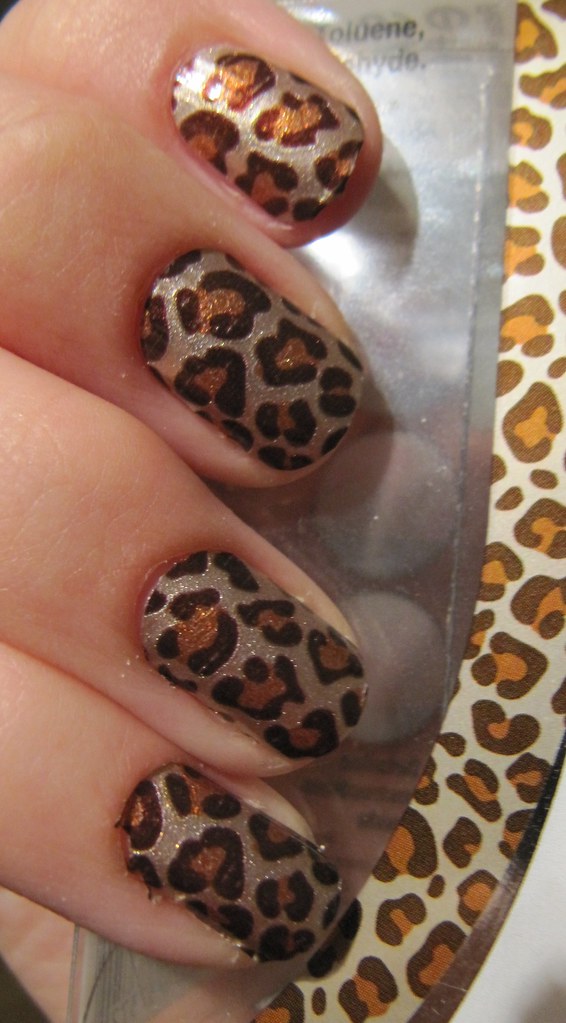
I used the leopard print one called Kitty Kitty. Overall, they were pretty easy to put on. They applied just like Incoco strips that I have used in the past. The one problem I had with this was that there wasn't much difference in the sizing. I had to modify a few of them to get them to fit correctly, especially on my little fingers.

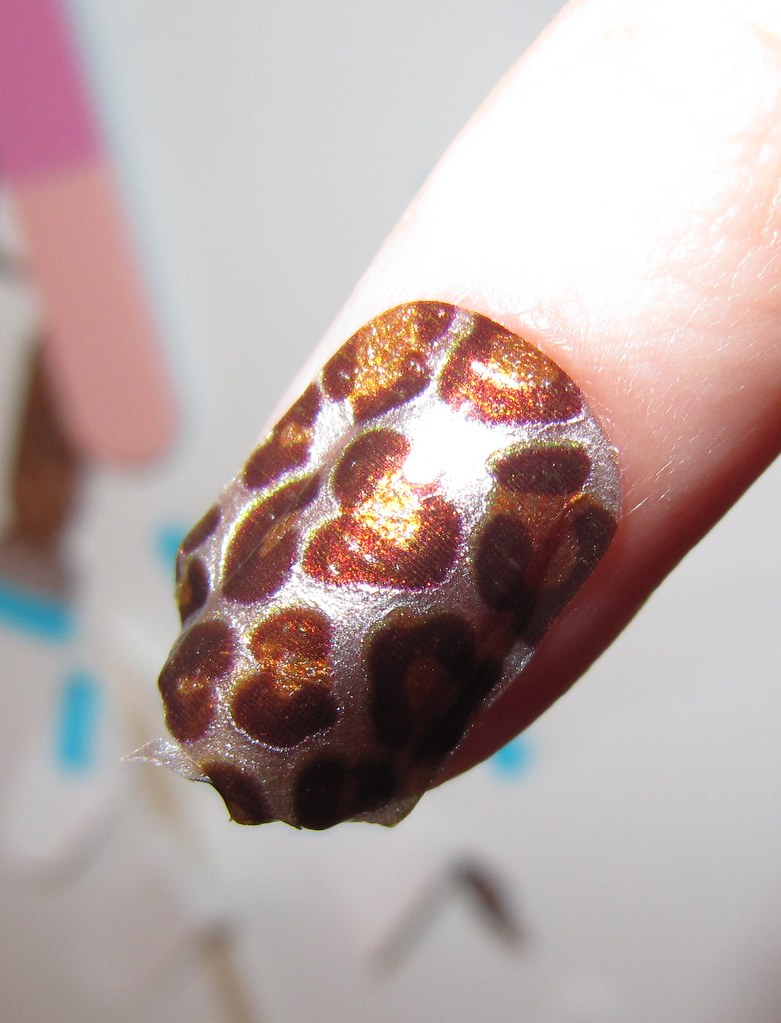
Above is one of the ones I needed to modify. The best way I found was to just gently puncture around the edges with my thumbs and in some cases with the cuticle pusher. Then I used a really pointed pair of tweezers to pull it off my skin.


Here is the finish product after about 30 minute application time. A bit rough around the edges, but not too shabby.


Day 5

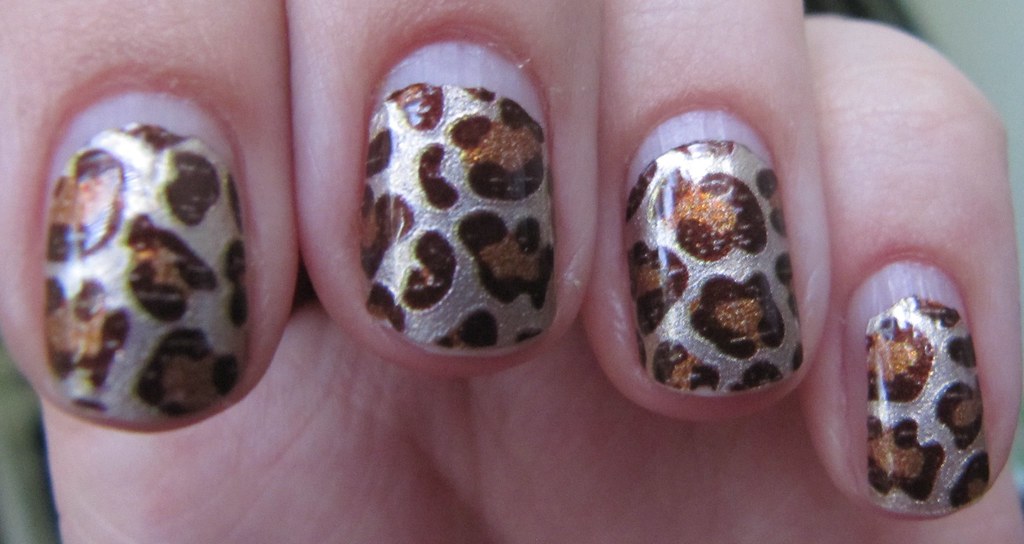
Let's skip ahead to day 5 now. They are not looking to bad at this point. A bit of tip wear which I know in my case is from poor application. I had a hard time getting a clean cut and file of the sticker when applying it. So some bits of it ripped off after wearing them for a few days. I also had some cracking you will notice.


In these pictures you can really see the tip wear and the noticeable cracking. Ignore the one green finger that was an oops from dyeing Easter eggs.


Day 8
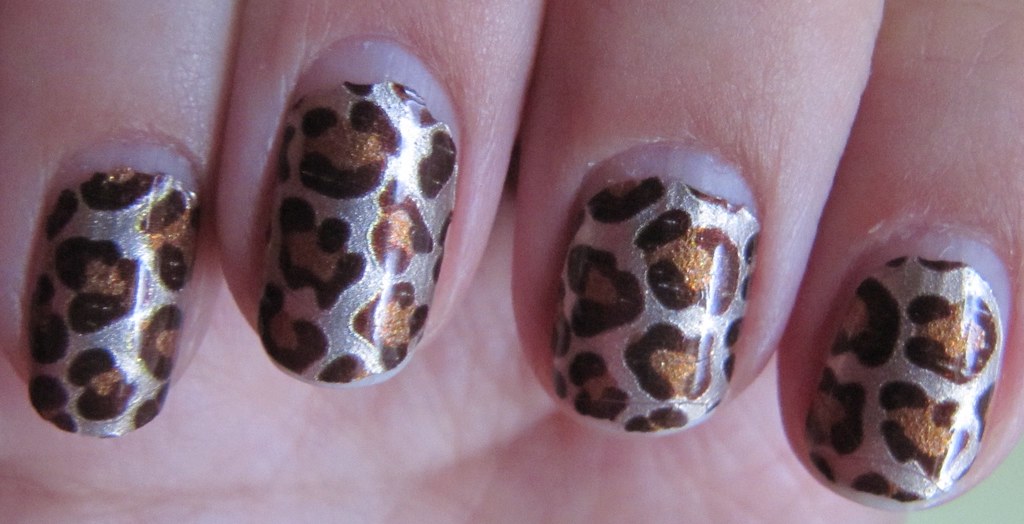
At this point there are a lot of growth and gap. But the tip wear is about the same as it was on day 5.

Day 9
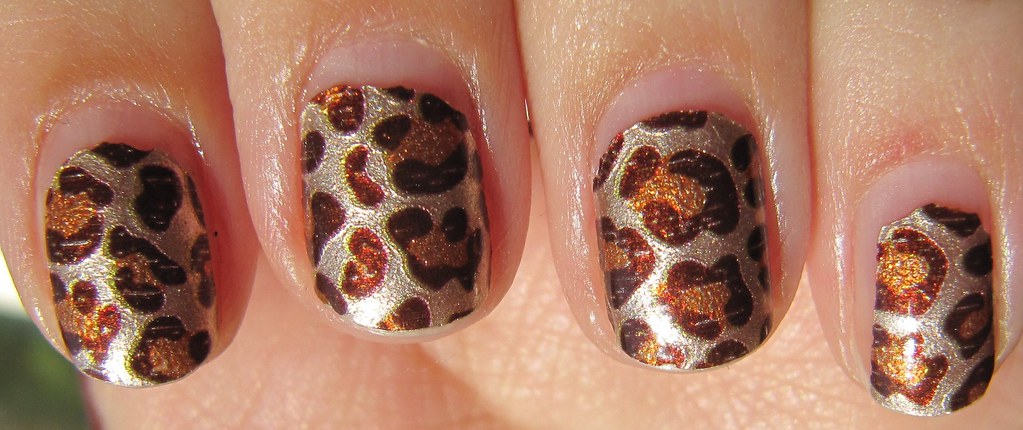
This was the last day I wore them. At this point the gap was too much to handle any longer and my one thumb was pretty torn up. But for 9 days where they don't look too terrible.


Overall Thoughts
I enjoyed them. I'm not that great at nail art and I know that there are other people who have problems with nail art too. This makes a great alternative. They are a bit expensive for a product that you can only use once.

One of the great things about choosing the leopard print ones are that they have a base color close to neutral, so when you have tip wear or small chips it was harder to notice.

Anyone else tried these yet or something similar from a different brand? I have a bunch of Incoco ones to try out and I also have two packs of the Essence version.

Saturday, August 7, 2010

Try Orange!

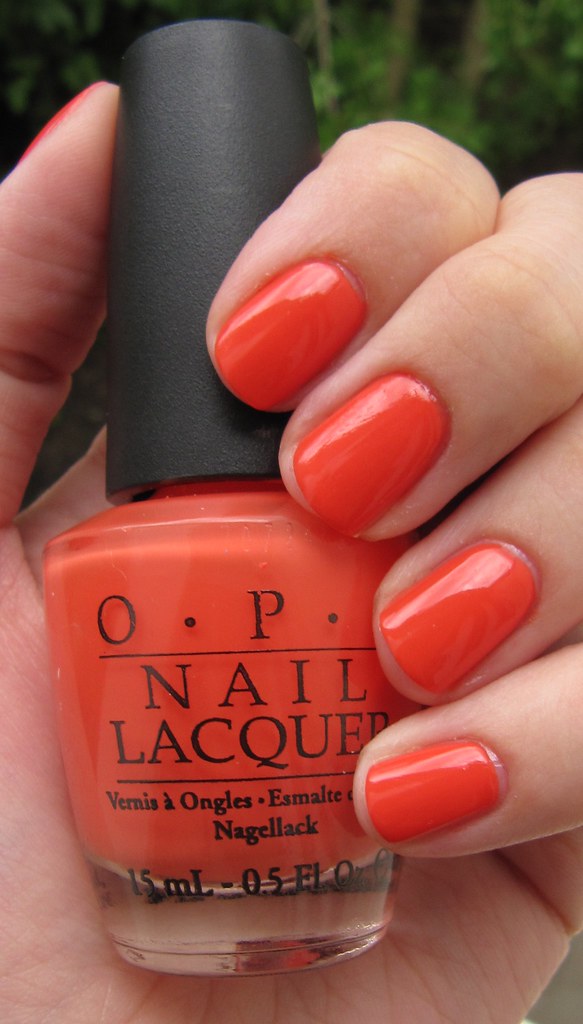
I think orange is one of those colors that is overlooked. I know I overlook it a lot. I can't remember the last time I wore orange polish for a long period of time. The weather here has been hit and miss. Lots of rain and little sunshine. So yesterday when I was choosing a weekend nail I went for something bright! OPI Bright Power a tangy bright Orange from the Brights Collection 2008.

I used four coats, but it looked good at three too.


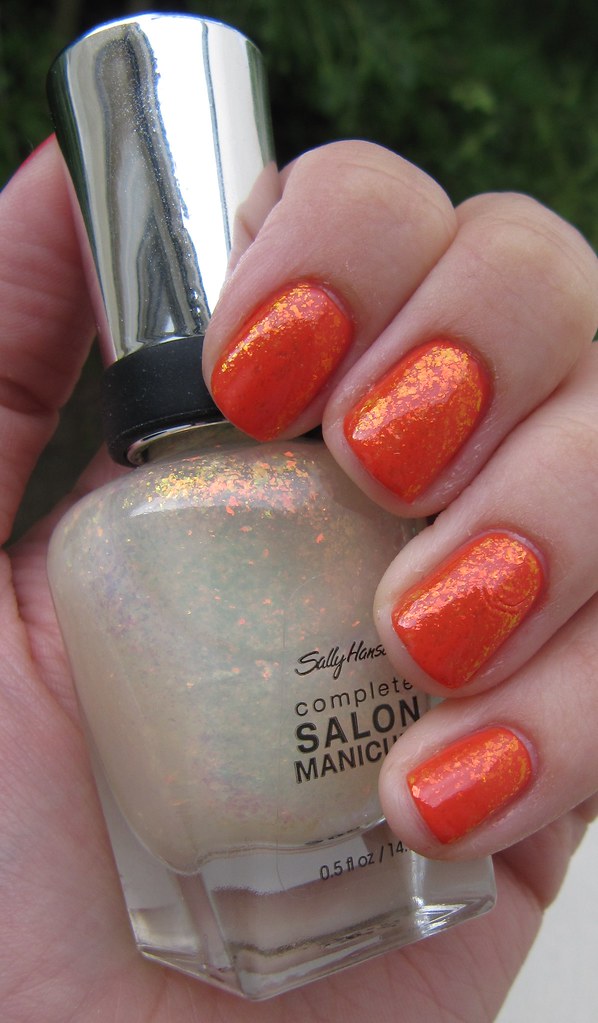
And because I wanted a bit more pizazz I added two coats of Sally Hansen Hidden Treasure.


I love the effect of the Hidden Treasure over orange since the flakes are an orange/gold. It's even more gorgeous in person.

Friday, July 16, 2010

Sally Hansen - Fairy Teal

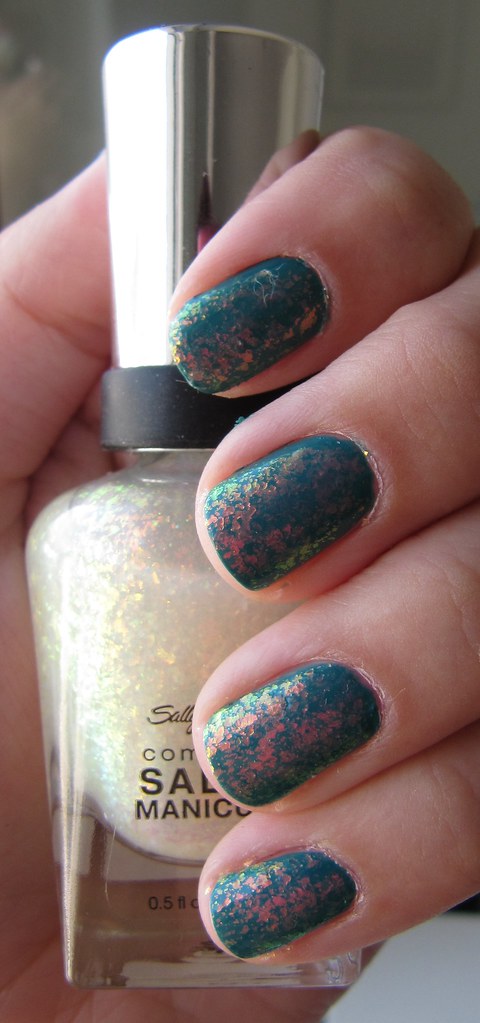
I picked up Fairy Teal during the first week of June. I was sent to run errands and I made a stop at the Sally Hansen display and chose this one. Yesterday I finally wore it! I really loved the color and I plan to eventually wear it again. It's a very pretty teal and it only needed two coats. I love the brushes for this brand. They are very wide and rounded at the end. Which makes it a lot easier for me to work around my cuticles.


I thought that Hidden Treasure, also from Sally Hansen, would look beautiful on this. So later on in the day I used two coats and the results were jaw dropping.


It was like I had sparkly teal opal's on my fingers. Unfortunately, this manicure was a mess to take off. The teal bled into every inch of my skin as soon as the remover touched it.

Sunday, May 2, 2010

OPI Lucky Lucky Lavender & Sally Hansen Hidden Treasure

I've disappeared for a month now. Things were getting very hectic in my life. I finally finished off my spring semester at college. So I guess I am a Senior now. Not sure for how long as I am transferring and one of the two schools I've looked at will only accept up to 67 credits.

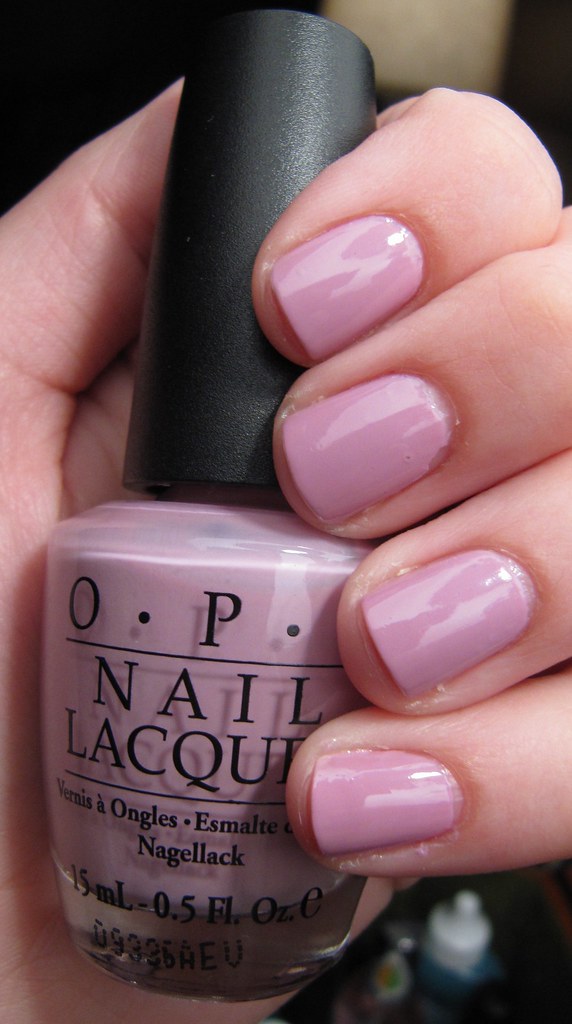
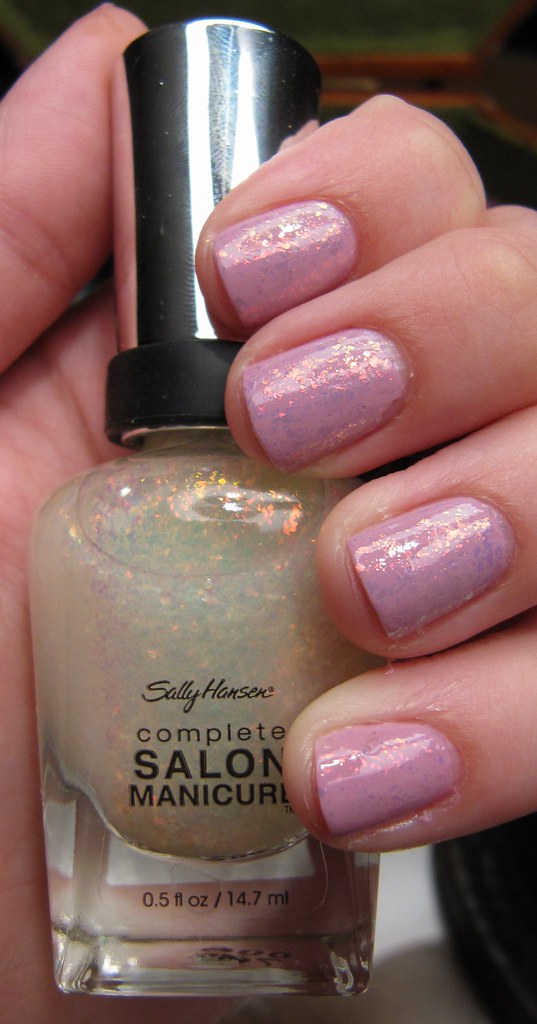
I am going to be showing you another polish from the OPI Hong Kong Collection that I recently purchased. It's called Lucky Lucky Lavender and it's a very light lavender that sometimes shows a bit pink. The best part is that it's very pigmented and can cover in two coats!


Next, I have a new Sally Hansen polish. I spent a lot of time looking for this pretty top coat. I finally found it at the fifth store I went to. It is actually a Tracy Reese for Sally Hansen collection for Spring 2010 and it is called Hidden Treasure. The main reason for why I bought this was to use it as a top coat to add character to my mani's. It's a bit gold based and has flakes in it which creates a sort of Opal affect.

This is with two coats of Hidden Treasure...